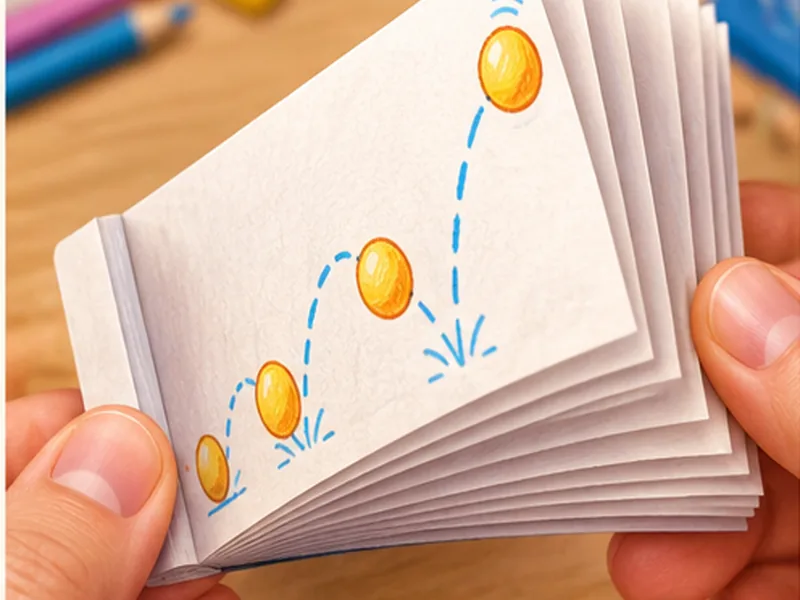
A flipbook creates the appearance of movement when similar drawings are shown quickly in sequence. Move the ball slightly between frames.
What you will learn
A sequence of small changes can make still drawings appear to move.
Skills: Sequencing, motion and frame-by-frame drawing
Jump to picture steps ↓What you’ll need
- 8–12 small pieces of paper or sticky notes
- Pencil
- Binder clip (optional)
Get ready: Cut or prepare the small papers before the session; hold the stack together.
Make it, one picture at a time.
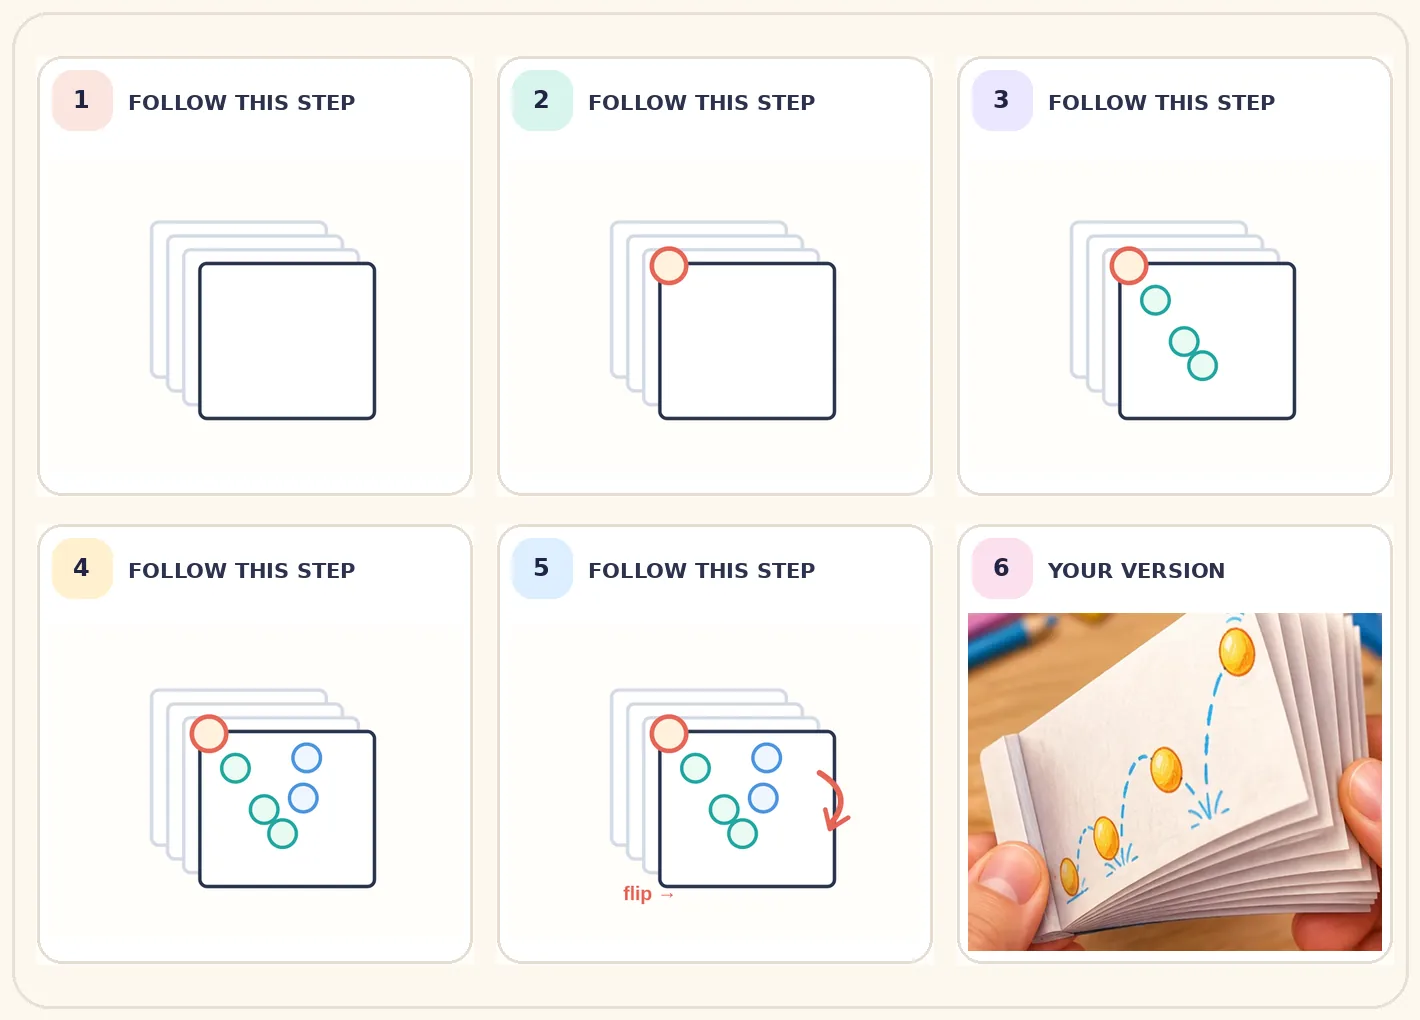
Look at the picture, try that step on your paper, then move to the next. Follow the numbered stages, then choose your own colours and details.
 STEP 01
Stack at least eight small pages in the same direction and number them lightly.
 STEP 02
On page one, draw a small ball near the top-left area.
 STEP 03
On each new page, move the ball a little lower. Near the bottom, make the movement smaller.
 STEP 04
On the next pages, move it upward again, changing its position a little each time.
 STEP 05
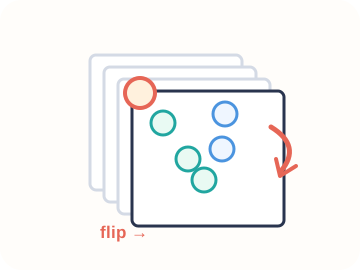
Hold the stack at one corner and flip quickly with your thumb. Adjust drawings if the bounce feels jumpy.
Make it your own
Keep the ball the same size on every page. Changing only the position makes the movement easier to understand.
Talk about it: What changes when the ball moves farther between pictures?
Help a young artist learn
These practical notes are for parents, carers and teachers. Children can follow the picture steps above.
For parents and carers — teach together
Start together
Cut or prepare the small papers before the session; hold the stack together.
During the activity
Let the child control the flip and notice what changes.
Afterwards
Ask: What changes when the ball moves farther between pictures?
For teachers — classroom adaptation
Learning focus
Sequencing, motion and frame-by-frame drawing
Demonstrate and guide
Demonstrate two frames on a board, then help groups compare smooth and jumpy motion.
Observe, do not grade the artwork
Ask learners to describe one choice they made and one thing they would try differently.
Make it easier or take it further
Make it easier
Use six pages with small changes.
Extra challenge
Add a squash frame when the ball touches the ground.
Free printable resource
Print the original activity sheet if it helps you follow along.
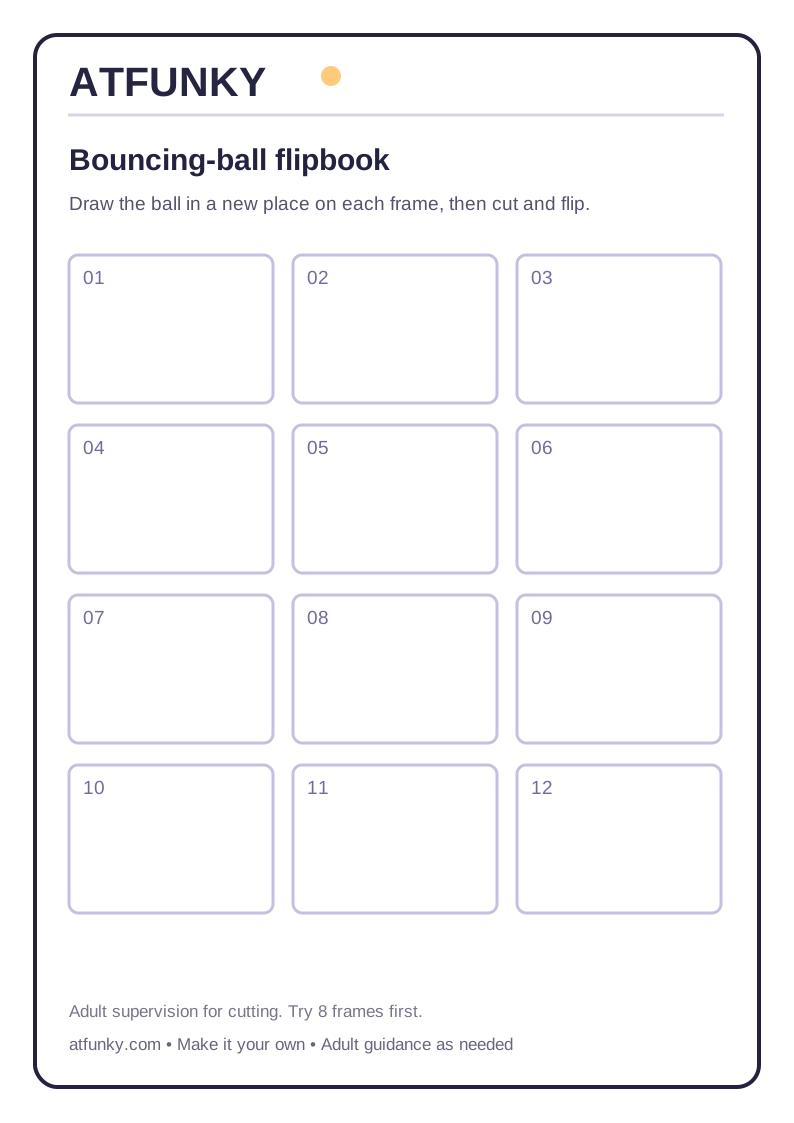
SVG opens in a browser and can be printed or saved. Use A4 or fit-to-page printing where appropriate.
Keep creating
Create a paper stop-motion scene
Make paper characters appear to move with a series of photographs.
Storyboard a tiny three-scene story
Plan a short animation before drawing lots of frames.
Activities are suggestions, not assessments. Adapt materials and supervise as needed.